And by did something, I of course mean my learning project.
Now, I went into this process with one video at my back, but at the same time, I only really watched the video to help with the mental process. I didn’t want to go into this not knowing anything of what I was doing. While I have worked with wood before, I’ve never worked on anything small and delicate. The last thing I made was a table.
And, yes, I have the silver, but I didn’t have the necessary tools to safely melt and cast it. I could have winged it, but messing around with 961.8 °C molten silver unsafely didn’t sound like a lot of fun. To me, at least.
That said, let’s get into what I used. If you don’t care about the process and just want to see the end result (and judge me harshly), that’ll be at the bottom of the post.
Materials:
Maple wood – it’s inexpensive, fairly hard and durable, and makes for a great color.
Calf leather – I bought this already in the form of a cord. Leather-working is cool, but it’s not something I’m really willing to do. I chose calf leather because it’s very durable for the size.
Danish Oil-brand Golden Oak stain – I chose this particular stain because A: the color was lighter, and I wanted contrast from the black cord. B: As far as I know, oil penetrates the wood more than a gel, so it would result in a more even color.
Tools:
Clamping table – I used one similar to this table, albeit a lot less fancy. Was used in lieu of C-clamps.
Jigsaw – I preferred this saw over a circular saw because I was able to make far more precise cuts into the wood.
Circular saw – I did use this for the initial cuts through the wood, since the blocks were so large. This dealt with that a bit easier.
Wheel sander – I was a bit limited in sanding options, but luckily my dad had this old one in the shed. I think it ended up working out pretty well.
Hand sander – Just a simple sponge hand sander in order to smooth out the piece and buff out any burn marks.
The Journey:
Ooooh boy. This one took a little learning.
(I apologize in advance – my camera on my phone is a bit wonky sometimes, so some pictures will be bad quality.)
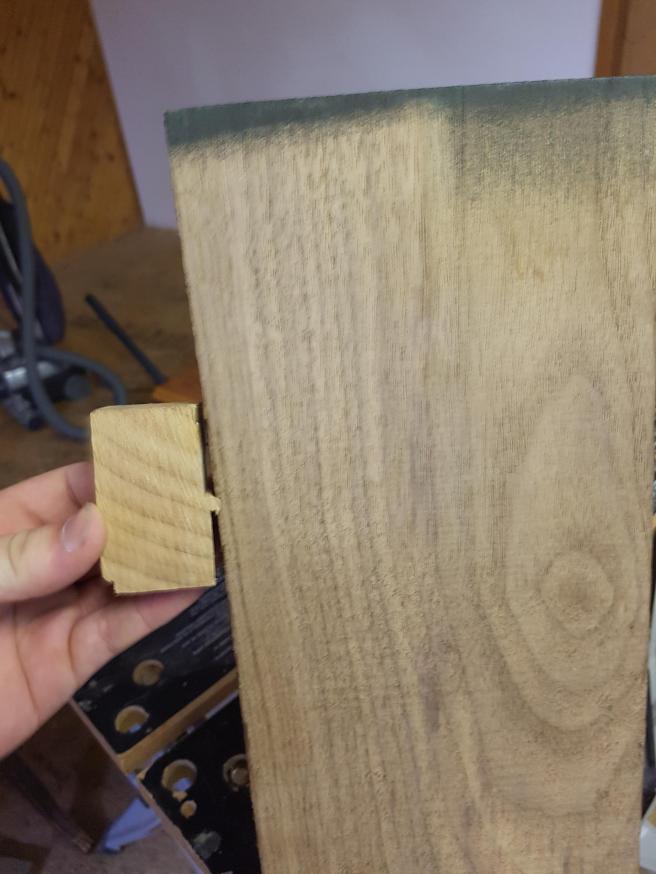
So, first off, I took a chunk of wood. This was the chunk of maple I had to work with.


Neat, huh? So my next step was obviously cutting it down to size a bit.
Next, I didn’t want to be sanding until this semester was already over, so I cut this piece down some more, and then wedged a chunk of it in between two other pieces in order to cut it, thickness-wise. (Ignore the burn marks from the saw – it’s been a while)


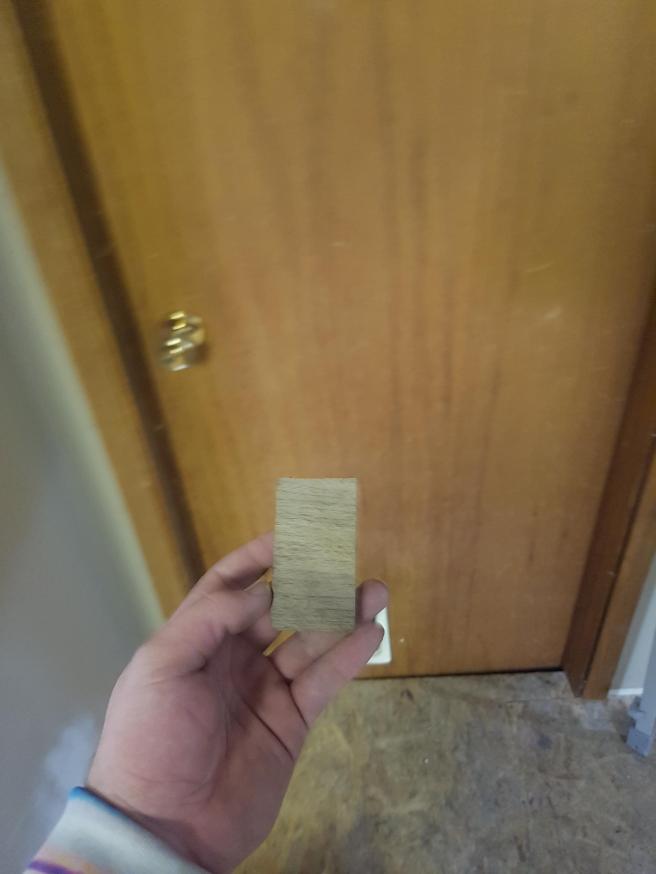
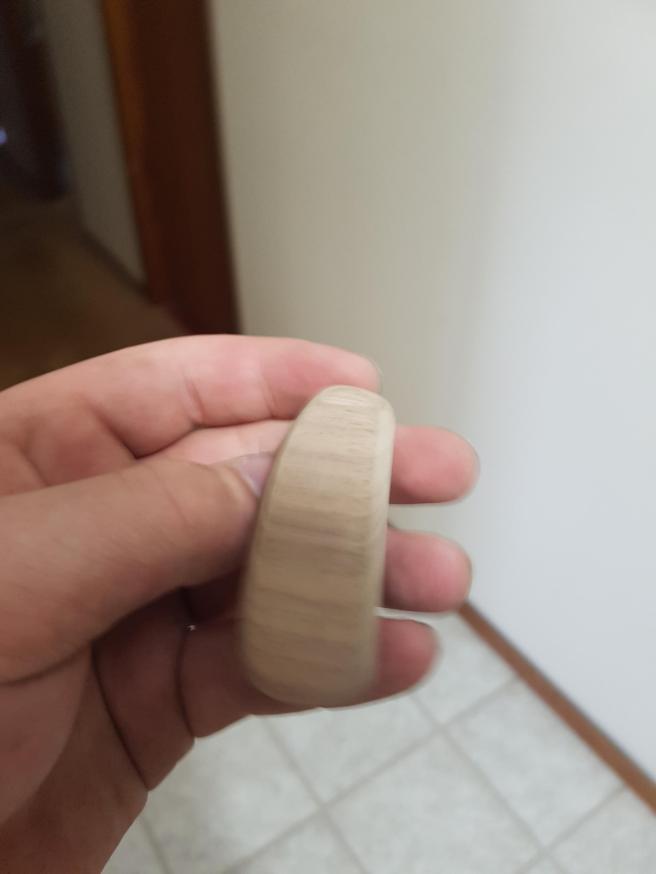
After getting a sizable piece, I began to work on it, with lines to help guide me towards the end product. I had already tried this without using lines. The result was…not good. At first it was looking like a human head, and then a teardrop. I think it was mimicking my emotions. /s


So yeah. That one was a failure. However, as seen above, I had two pieces of wood to work with. And work with them I did. The second one I tried turned out a lot better out of the sander, with the only kerfuffle in my plans being that the sander left quite a few burn marks.
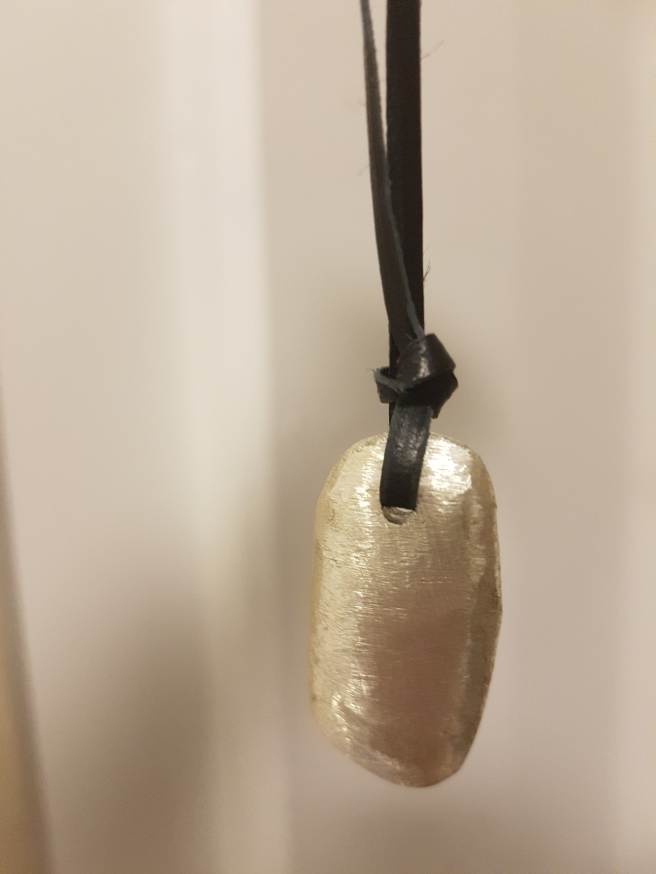
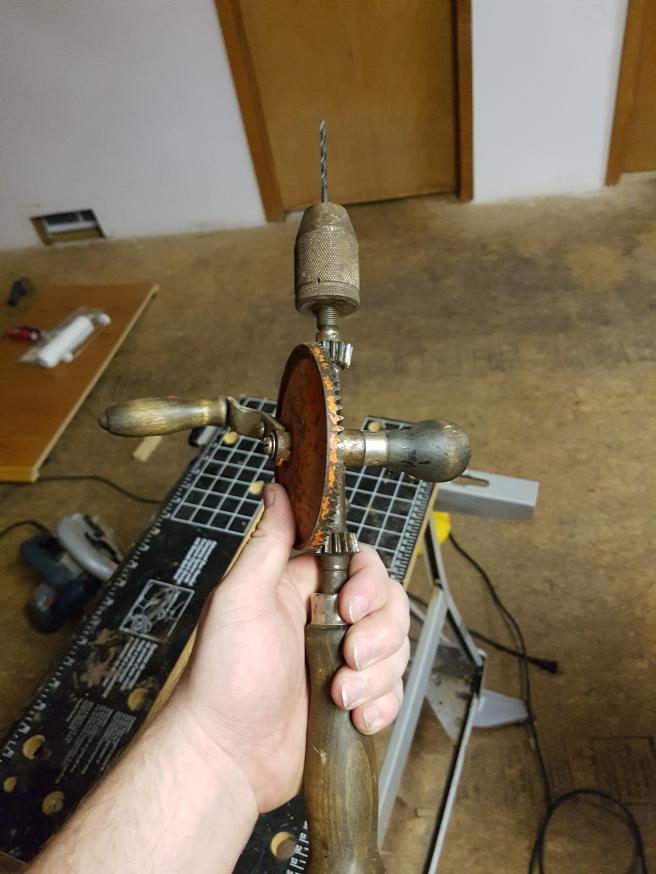
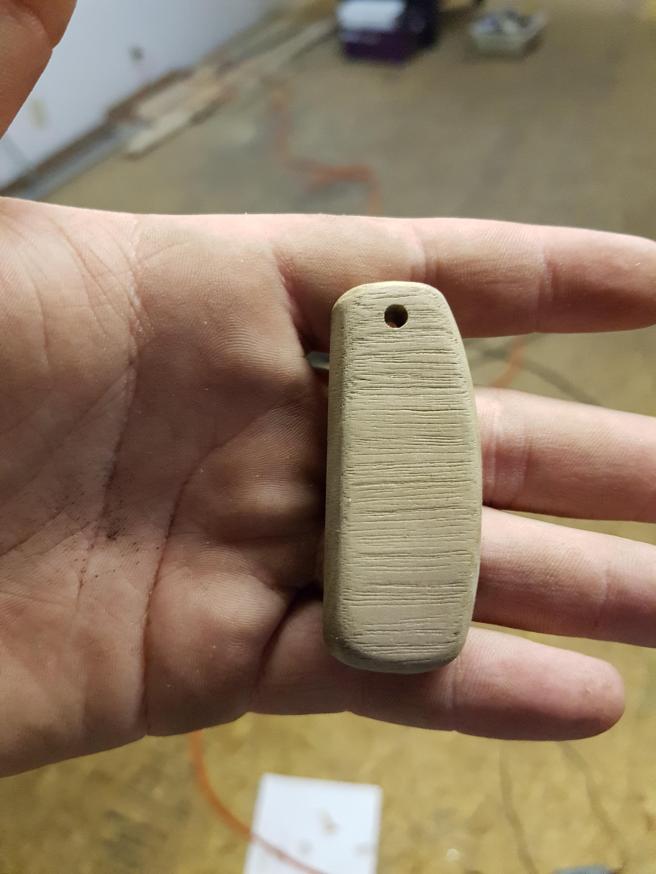
So I had to sand it with a hand sander. Honestly it wasn’t that bad – since the pendant was so simple in design to begin with, sanding wasn’t that much trouble for me. After sanding it – and once I was satisfied with where I had gotten it – I drilled a hole through the side. The design permitted me to do that, and it made putting a cord on it monumentally easier.


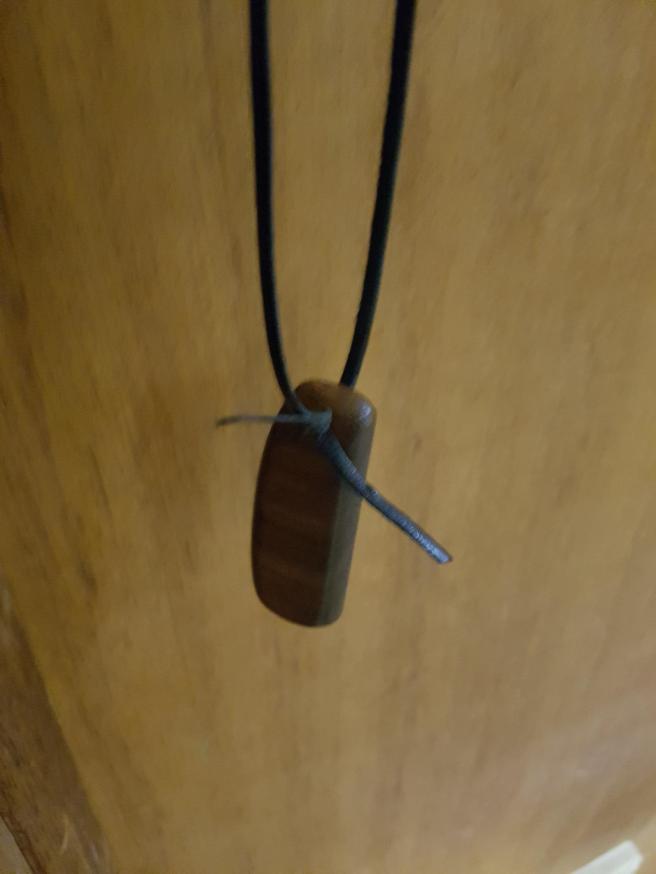
So, after drilling the hole, the final step was needed. Staining. I needed to stain it. So, I did! :D! After staining, I hung it on some…metal twine? Just something that could fit through the hole that wasn’t the actual cord. I’m not sure how well a stain would show on black leather, but I didn’t want to take any chances.


I should mention – I woke up the next day and figured – I really think I can do better. The pendant had turned out fairly well, I’d like to say, but I figured I could do a lot better. So I made another. …and completely forgot to document the progress. This is a good and bad thing, however. I mean yes, it was the point to document it, but the reason I forgot to was because I was so engrossed and focused on completing another pendant. When I remembered to take some pictures, I had already finished it.

My general inspiration for the second pendant was that I just wanted to make a more intricately designed work than the first. Who knew that making wood intricate took more work. And by work, I of course mean sanding. Yaaaaaaaaaaaaaay sanding.
While I hung the second to dry, I figured I’d do a little experiment. I stained the first one twice, trying to look for any color difference. There was some – just not much.
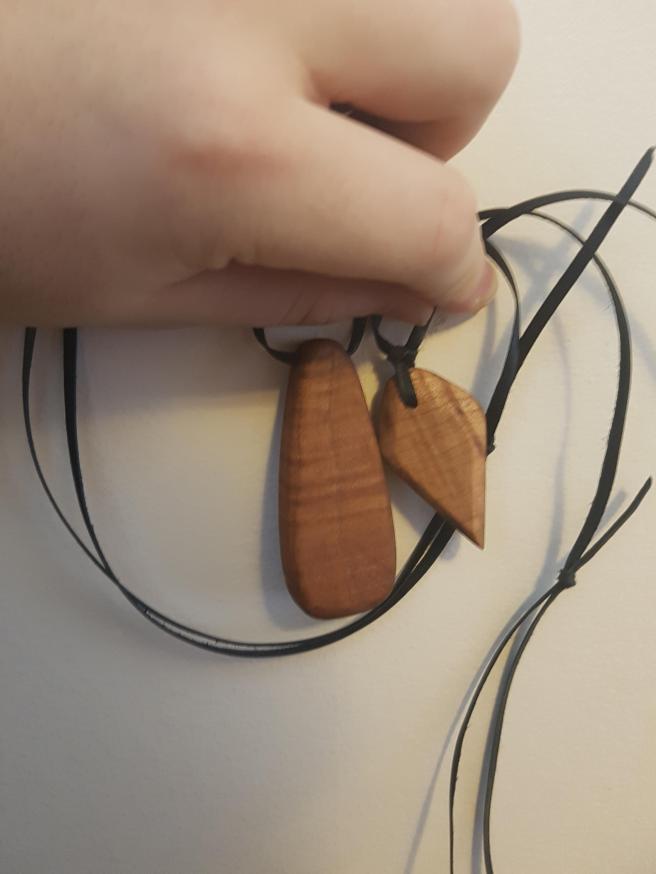
So, having completed the actual pendants, I needed to do some work with the cord. Using black calf leather, I tied slipknots through both of them. I like the aesthetic of the slip knots, and being able to adjust the necklaces at will gives them a more dynamic feel. It was either that, or do one of two things: either make it big enough to fit over your head (which would look dumb with the designs I used), or retie the necklace every time you wanted to take it on or off. Yeah no. Not doing that.


An interesting note – you might have noticed that the hole drilled through the second pendant is straight through. This is because I didn’t trust the drill not to split the wood if I tried to drill through a side so thin. Plus, the sturdiness wouldn’t be there with such small parts holding it on. So I tied a basic…uh, knot? I don’t know what it’s called – my mom showed me how to do it. It’s basically just a knot that turns the cord 90°, allowing the pendant to remain parallel to the cord.


Overall, I’m really freaking happy with the results. I think they look pretty good.
Of course, I’m not closed to other opinions. If you have any ideas for what I could do with wood in the future, let me know!
…but don’t tell me that I used the wrong tools. They were all I had. Nerd.